Skip to content
Home
About
Favorite Products
Contact
Facebook
X
Instagram
Pinterest
The Recipe Index
Recipe Index
Search for:
Search
SIGNUP for our FREE Emails!!!
Domestically Speaking
Toggle Menu
Home
/
craft
- Page 2
craft
art
|
craft
|
decorating
|
diy
|
HOW TO
|
Summer
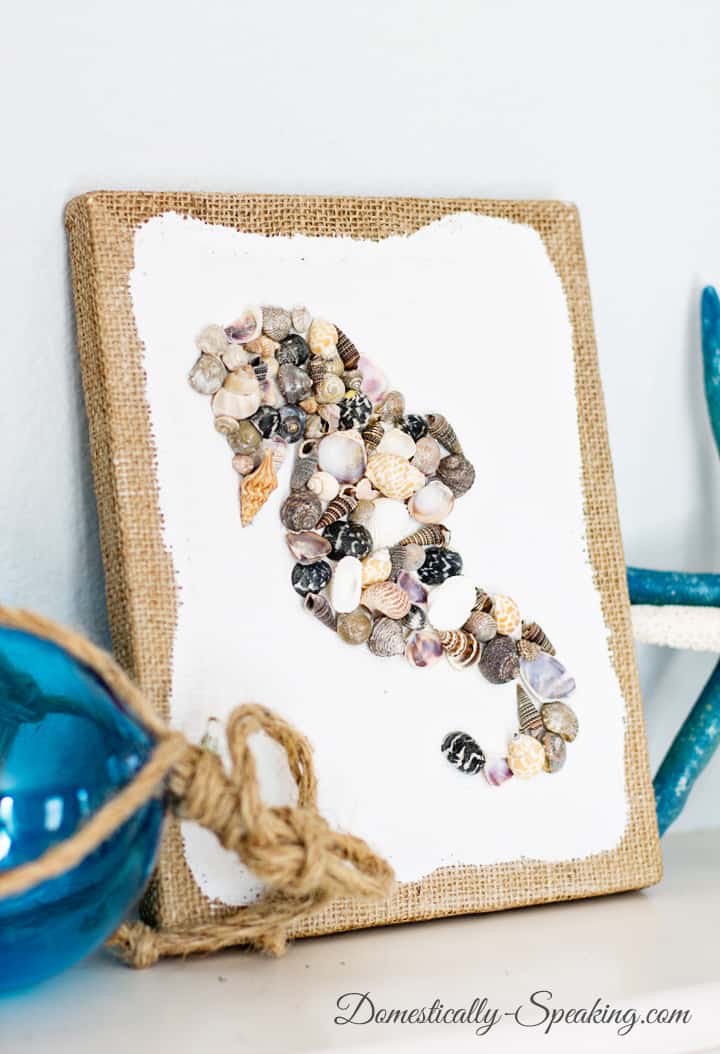
DIY Seashell Seahorse Craft
craft
|
paint
|
Thrift Store Decor
DIY Coastal Starfish Basket
craft
|
diy
|
paint
|
Thrift Store Decor
DIY Plaster Candle Holders
craft
|
diy
|
Thrift Store Decor
DIY Indigo Handcrafted Vase
burlap
|
craft
|
decorating
|
Spring
|
wreath
Spring Wreath: Blues, Greens and Burlap
craft
|
Easter
Marshmallow Peeps Bunny Kabobs
craft
|
HOW TO
|
Spring
|
twine
How to Make Moss Eggs
craft
|
Thrift Store Decor
Best Tips and Tricks for Crafting
craft
|
donut
|
FREE
|
Printable
|
Valentine's Day
Donut Valentine Printables
art
|
craft
|
decorating
|
HOW TO
|
twine
|
Valentine's
|
Valentine's Day
Baker’s Twine Heart
craft
|
diy
|
Printable
|
twine
|
Valentine's Day
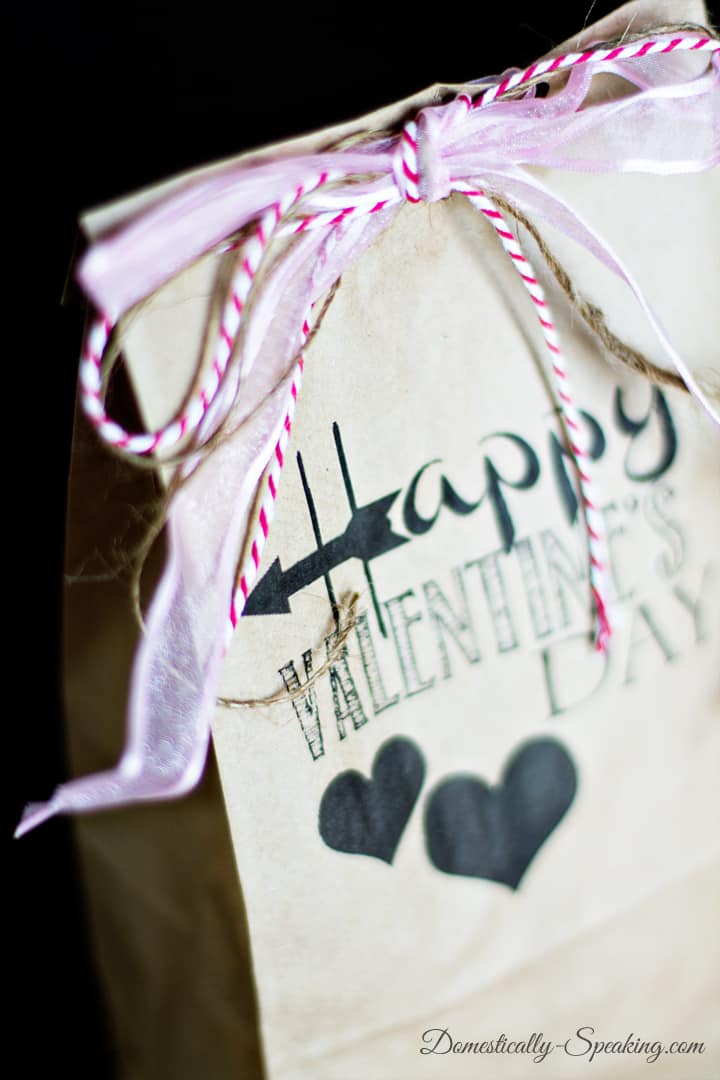
Brown Bag Valentine Gift Printable
Christmas
|
craft
|
diy
|
HOW TO
|
twine
Rustic Twine Wood Slice Christmas Ornaments
craft
|
paint
|
Thrift Store Decor
Thrift Store Updated Key Holder
craft
|
decorating
|
Fall
|
HOW TO
Corn Husk and Chalkboard Placecard
craft
|
paint
|
Thrift Store Decor
Desktop Hanging Clock Makeover
craft
|
decorating
|
diy
|
Fall
|
HOW TO
|
paint
|
wreath
Metallic Browns and Gold Leaf Fall Wreath
craft
|
HOW TO
|
recipe
3 Ingredient Sugar Scrub… Choose your own scent!
craft
|
decorating
|
diy
|
HOW TO
|
Popular
Hanging Herb Mason Jars Garden
craft
|
diy
|
Thrift Store Decor
DIY Color Block Vase
burlap
|
contributor
|
craft
|
decorating
|
diy
|
HOW TO
|
Spring
DIY Floral Hanging Basket
Page navigation
Previous Page
Previous
1
2
3
4
…
18
Next Page
Next
Recipe Index