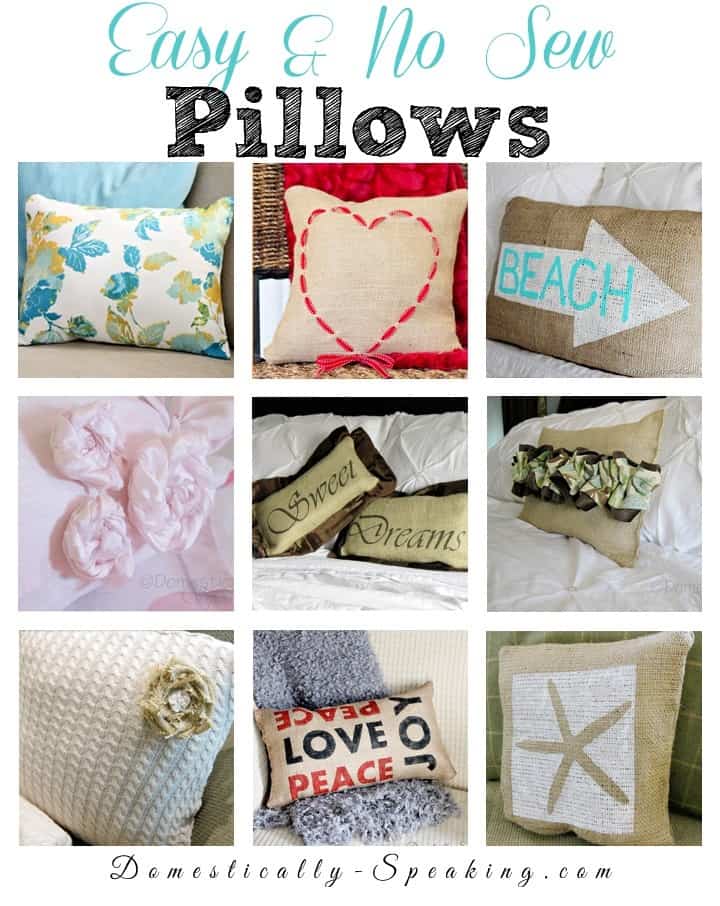
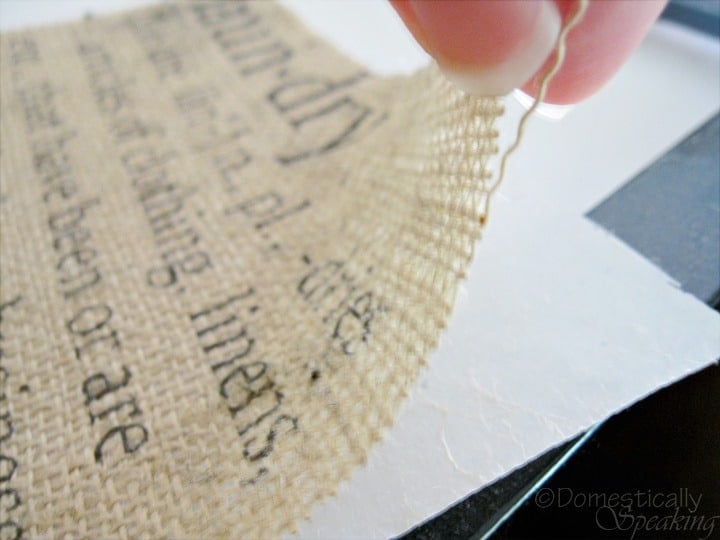
burlap | craft | decorating | diy | Fabric | Fall | Guest Post | HOW TO Always Give Thanks Burlap Pillow
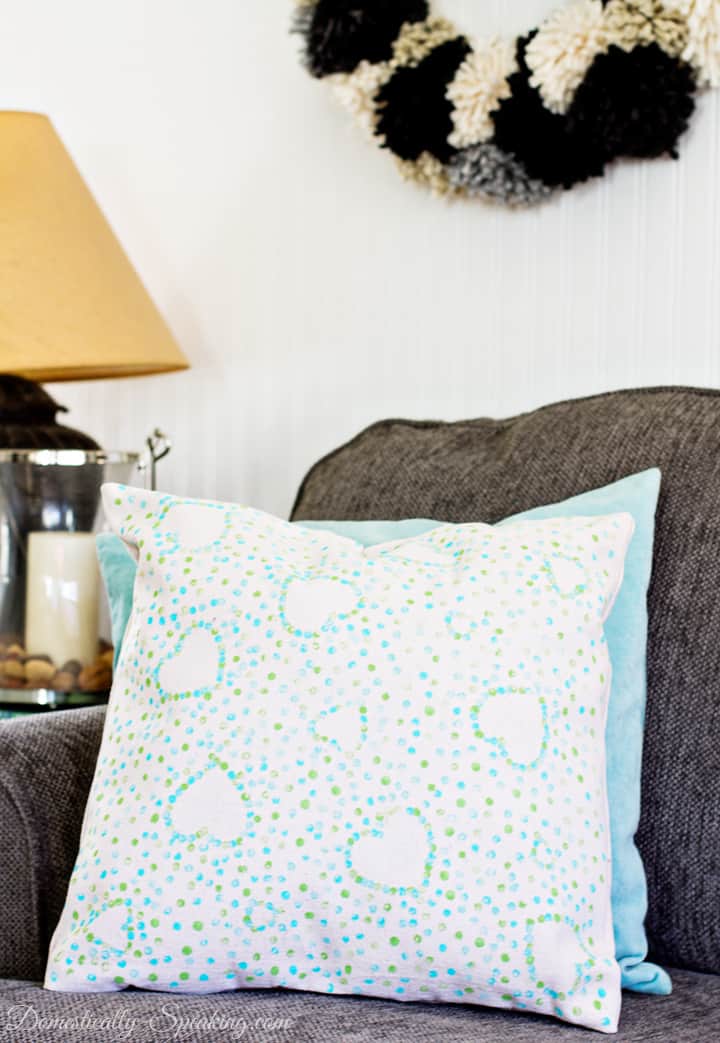
craft | decorating | diy | Fabric | HOW TO | paint | Valentine's Day Valentine Polka Dot Heart Pillow
burlap | Christmas | craft | decorating | Fabric | HOW TO | paint | sewing Peace, Joy and Love Pillow Pottery Barn Inspired