Cherry Pie Filling


Learn how to make homemade cherry pie filling with this quick and easy recipe! Perfect for pies, tarts, or desserts, this sweet and tangy cherry filling uses fresh or frozen cherries and simple ingredients for a delicious result.

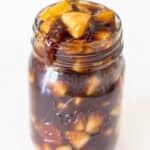
I love cherry pie and this Cherry Pie Filling is an easy recipe that can be used for pie, crisps, topping for your ice cream and so many other great recipes.
Jump to RecipeWhy You’ll Love This Cherry Pie Filling
This cherry pie filling recipe is a game-changer for dessert lovers! Whether you’re baking a classic cherry pie or adding a fruity topping to cheesecake, this versatile recipe is quick, customizable, and bursting with flavor. Using fresh or frozen cherries, you can whip up this filling in under 15 minutes, making it ideal for last-minute baking.
- Quick and Easy: Ready in just 15 minutes.
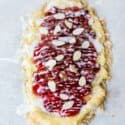
- Versatile: Perfect for pies, cobblers, or as a dessert topping.
- Customizable: Adjust sweetness or tartness to your taste.
- Fresh or Frozen: Works with both fresh and frozen cherries.
What Cherries to Use for Pie
To make this cherry pie filling I used leftover cherries that we needed to use up. This is a great way to get rid of those cherries before they go bad, but you can also use pitted frozen cherries too.
Pitting Cherries for Cherry Filling
If you’ve got a cherry pitter then you’re in luck, but if you don’t I’ve got a great tip! I rarely pit cherries, maybe 2 times a year, so this trick comes in handy.
I use a large straw to pit my cherries! The ones I used are labeled as a smoothie straw, but any straw with a larger opening will work great. After rinsing the cherries, remove the stem, then push the straw through the spot where the stem was, pushing all the way through to the other side of the cherry. This will push the pit all the way out and the pit will be stuck in the straw. I repeat until I have most of my straw-filled with pits and then I go to the trash can and squeeze the pits in the trash and go back to pitting.
Another option is using a pairing knife. Very carefully slice the cherry slightly off-center, so the blade will go on the side of the pit. Then you can pull the pit out. If you don’t care how your cherries look, this is a quick option to get the job done.
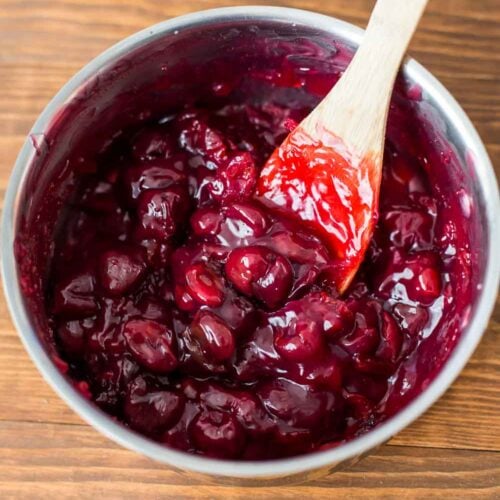
It’s so shiny, glossy, and full of that great cherry flavor you love! Let’s get into the recipe.
Cherry Pie Filling
Ingredients
- 3 cups cherries pitted
- ½ cup water
- 1 cup sugar
- 3 tbsp corn starch
- 1 tsp almond extract
Instructions
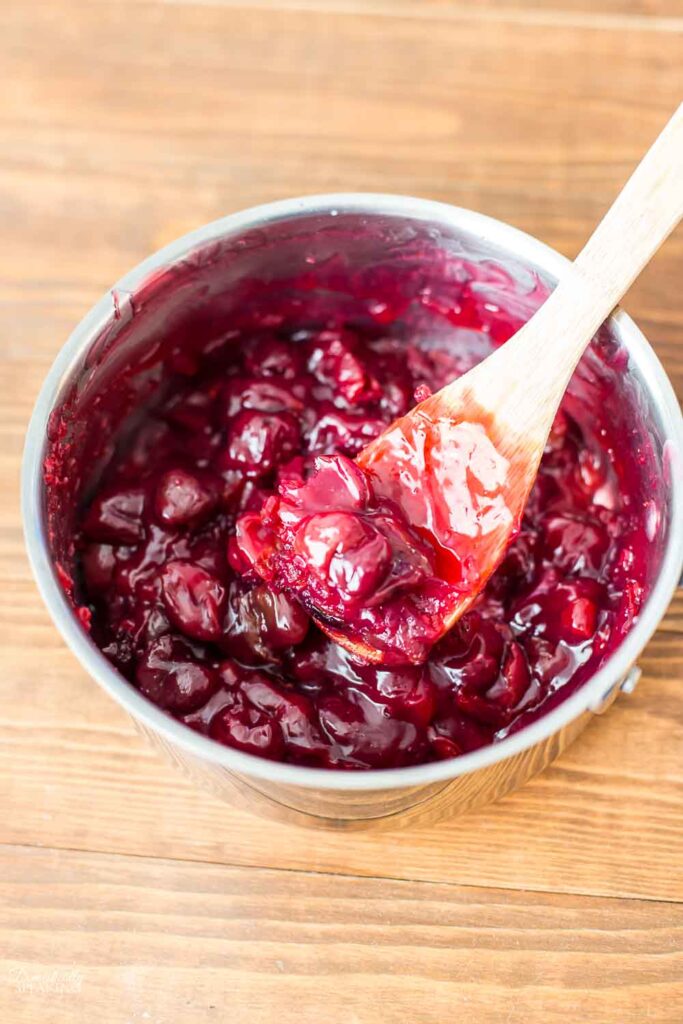
- Add your pitted cherries to a saucepan.

- Add the water, sugar, and corn starch to the cherries in the saucepan. Turn on heat to medium.
- Mix the ingredients together. Stir occasionally.
- Once it comes to a boil, turn the heat to low and stir frequently for 10 minutes. Turn off heat and add the almond extract.
- Allow to cool before adding to pie crust, crisp or storing in the fridge.


Notes
Tips for the Best Cherry Pie Filling
- Adjust Sweetness: Taste your cherries first. Tart cherries may need extra sugar, while sweet cherries may need less.
- Thicken It Right: If the filling is too thin, add a bit more cornstarch slurry (1 tsp cornstarch + 1 tbsp water).
- Versatile Uses: Use this filling in cherry pie, cobblers, or as a topping for ice cream or pancakes.
- Canning Option: For long-term storage, try canning your cherry pie filling using a water bath canner.
I hope you get to try this cherry pie filling recipe soon.
Other Cherry Recipes:


Affiliate links are provided for your convenience.